Create a collect QR code
Let's create a QR code that leads a customer to a form where they can give their name & email for a grill giveaway.
While on the site, click Data, then QR Codes up top.
Hit New and give your QR code a name. I'm going to call mine "Grill giveaway". Since I want to collect data, I'm going to change the Action setting to Collect:
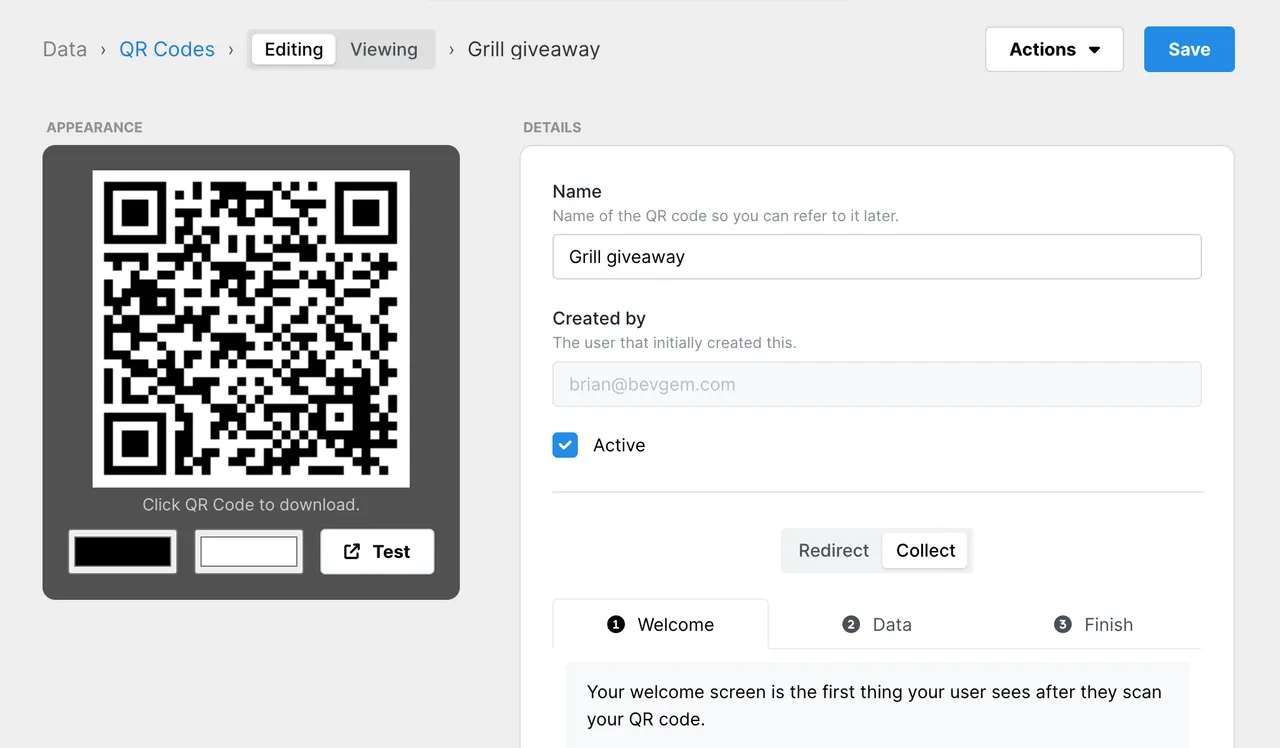
A whole bunch of options popped down but I promise it's really not that much. There are 3 sections:
- Welcome
- Data
- Finish
Welcome
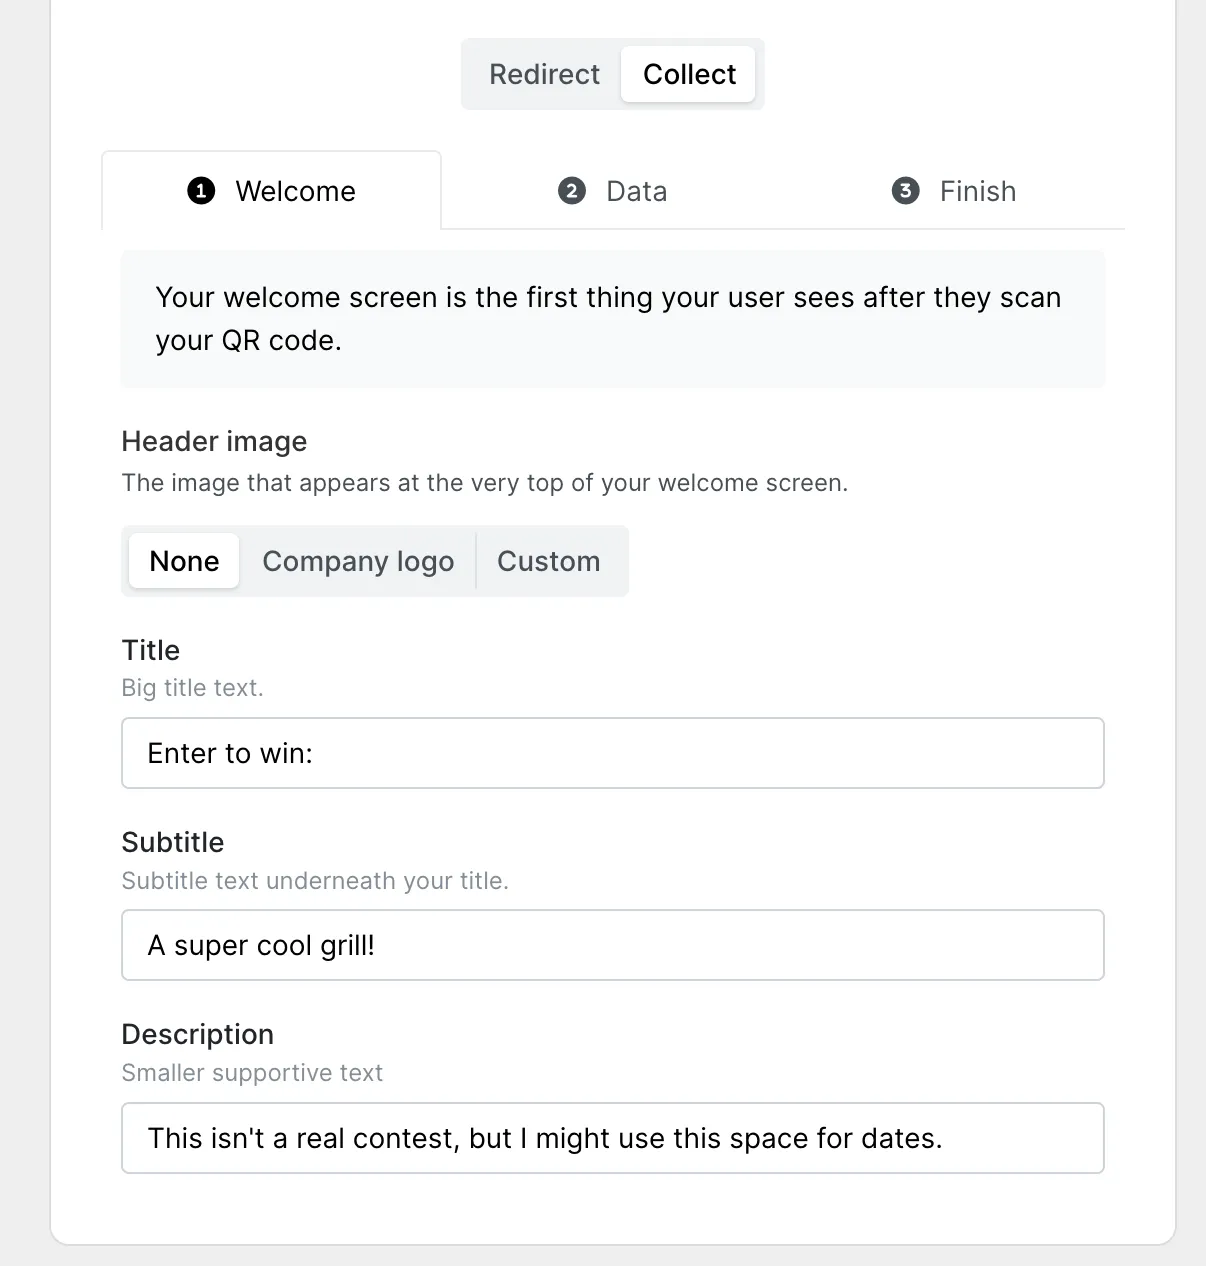
If you did the example in the introduction article, you'll remember that the Welcome screen is the form your customer sees just after they scan your QR code. Save your QR code and test it out:
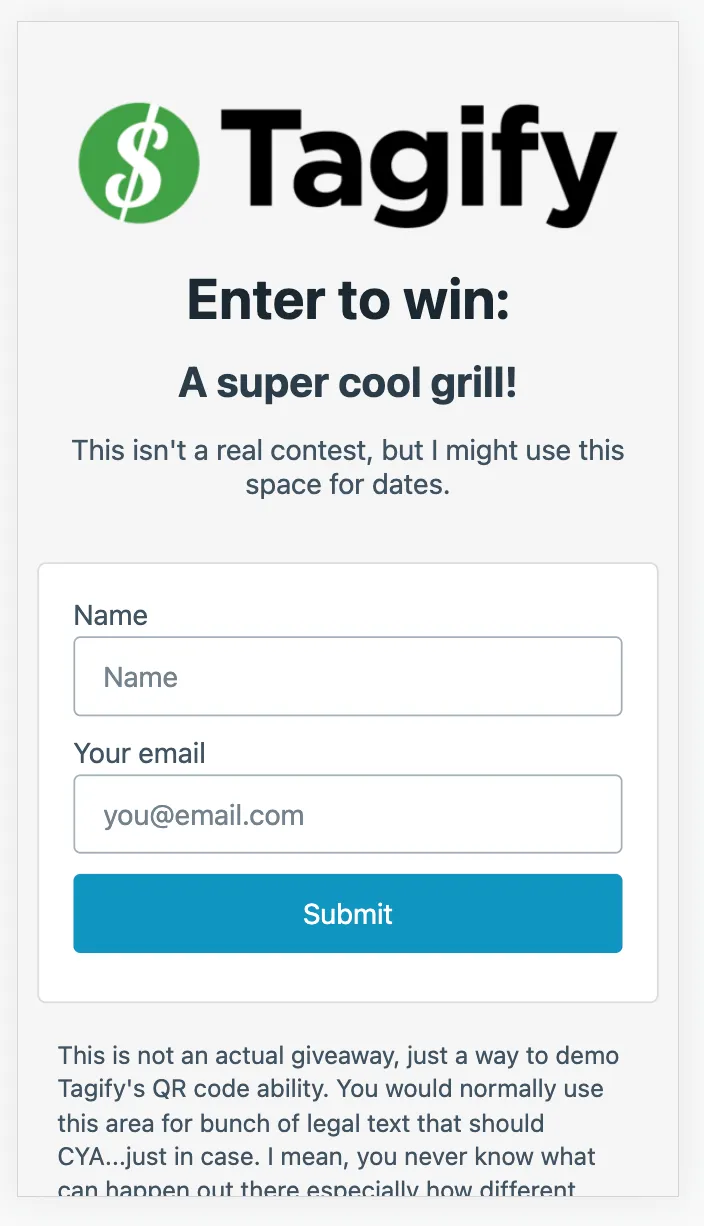
Pretty cool, huh? You're just filling in fields that will eventually be your custom form.
Data
You can tell Tagify what data to collect in the Data section:

This is where you build out your form. You can add fields here, give them a title (that's the text that appears on the form next to each input) and tell Tagify what type of data to expect. Right now there are three types: Anything, Email and Phone #.
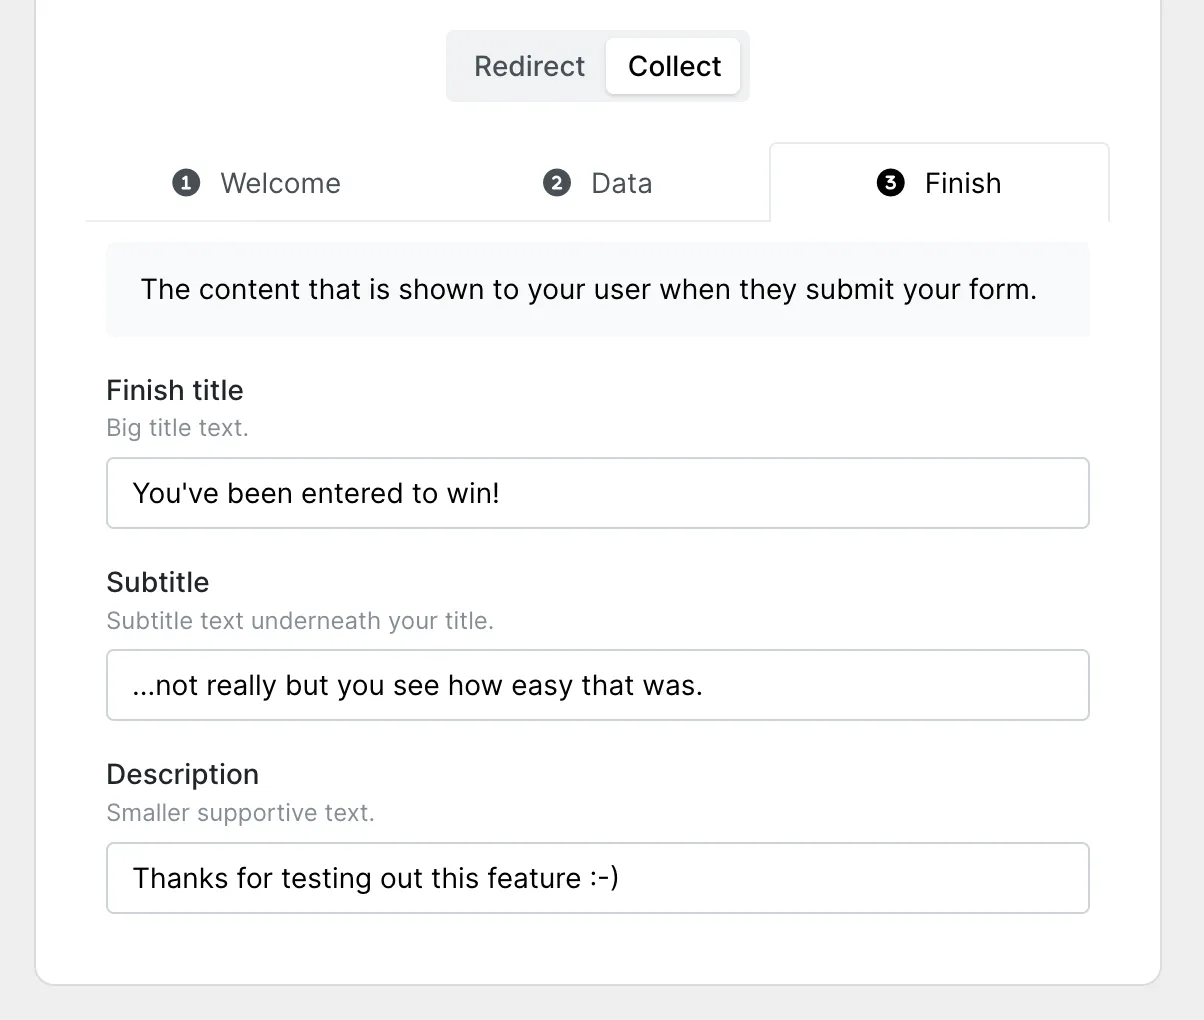
Finish
Our last section is even more straightforward than the last. What do you want to show your customer when they've successfully inputted their data? Here's what my settings look like:
All done? Make sure to click on Save up top and you're all done. Don't forget to test your collect code by either hitting Preview on the left or whipping out your phone to scan.