Brands
Your brand list is where you manage the logos your team uses to make tags. These are your brands and you are in complete control over this list. Tagify gets you going with a few basic ones, but you'll want to add some that are specific to your company.
For Tagify Plus, this is where you'll also manage your signs attached to each brand.
Adding brands
First, visit your brand list by going to Brands from the menu up top.
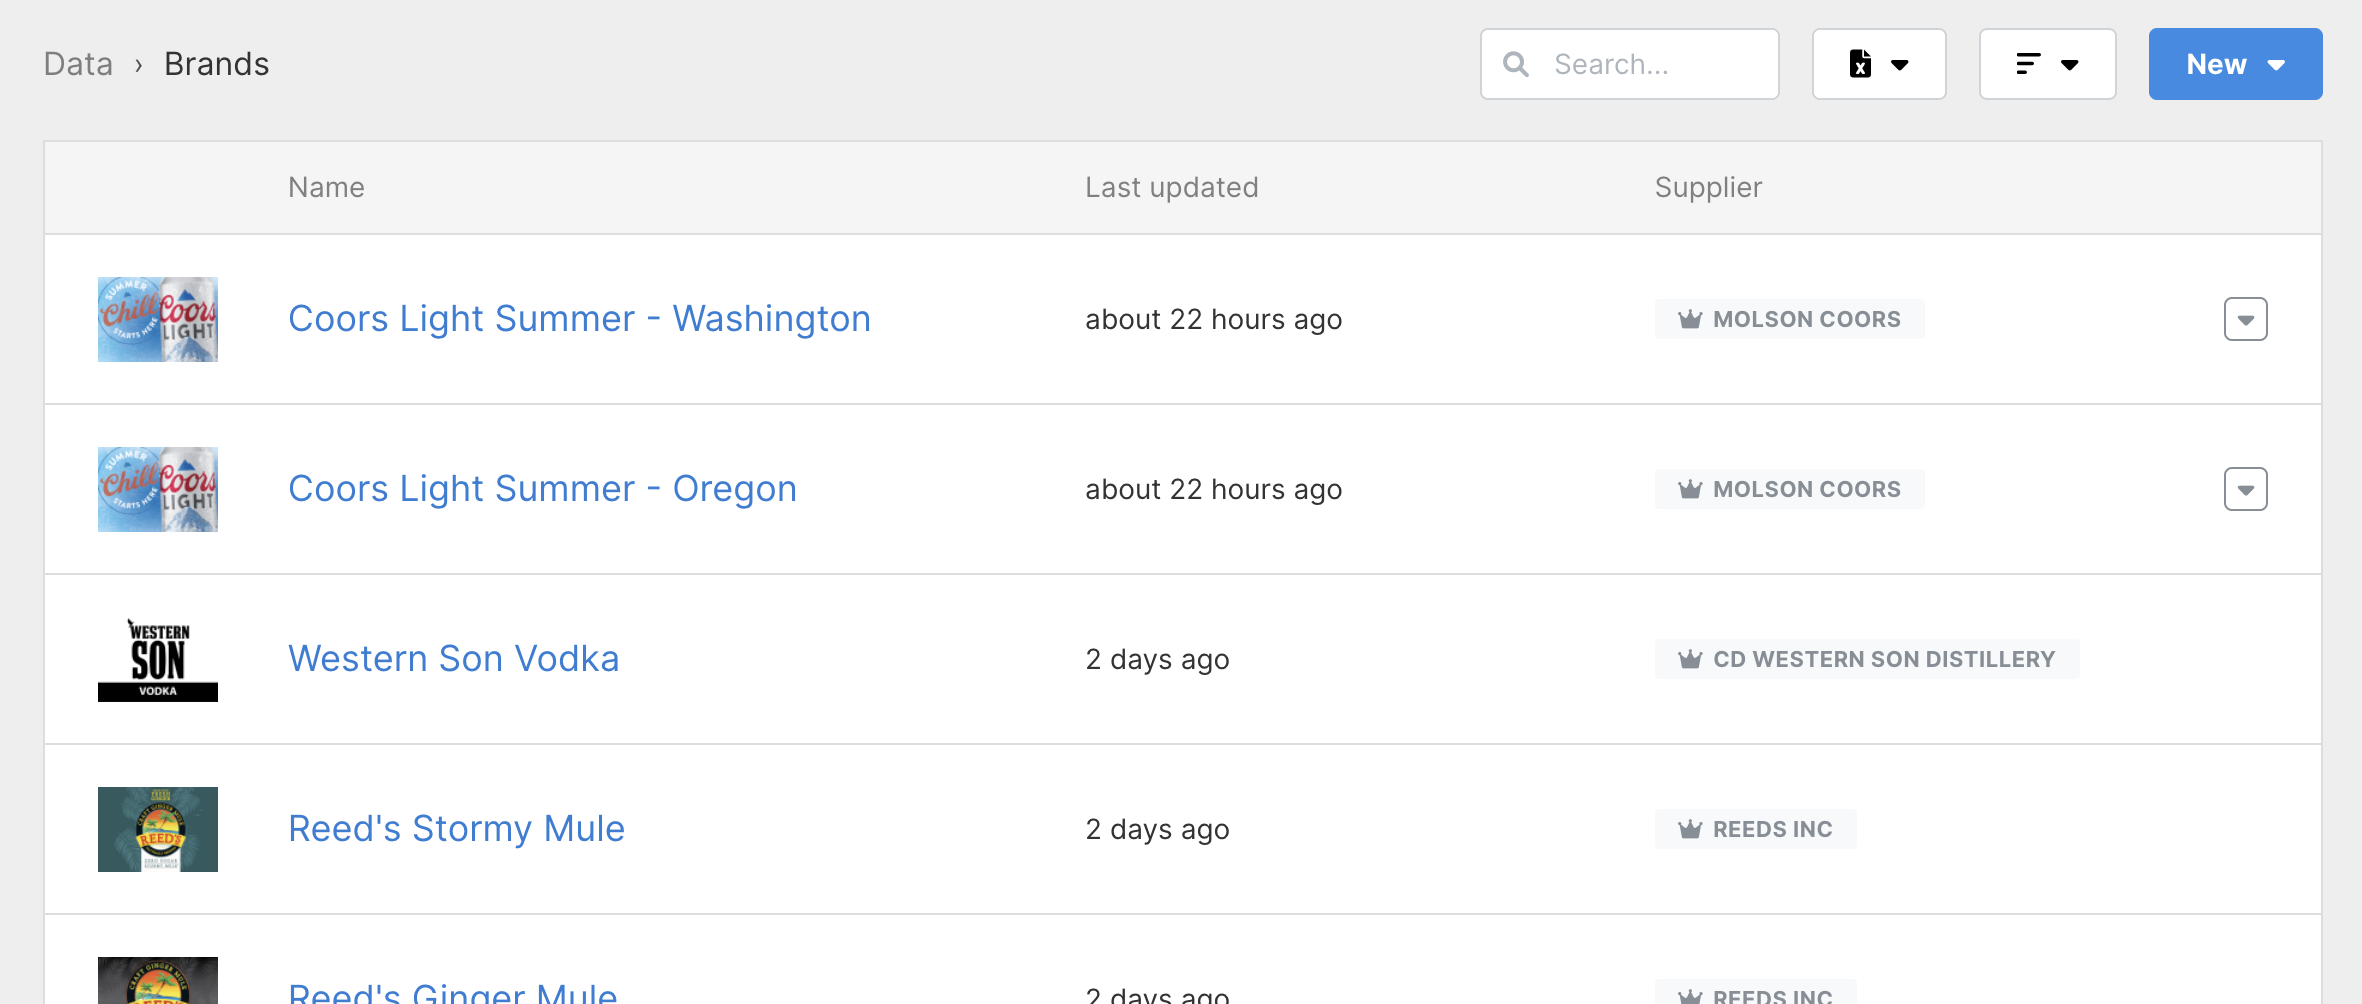
Click New then Add from file(s). You can simply drag and drop your images and Tagify will queue them up and get them processed. If you'd prefer a file dialog, just click Choose File. You can select multiple logos at once by holding control (command on Mac) and the files you want to upload.
Tagify will accept:
- JPEG
- PNG
After the logo is uploaded, Tagify will convert it to a PNG and internally create multiple resized versions for specific use cases.
Image restrictions
Any image you upload must be 250mb or under and have a max resolution of:
3000px x 3000px
Editing brands
First, visit your brand list by going to Brands from the menu up top.
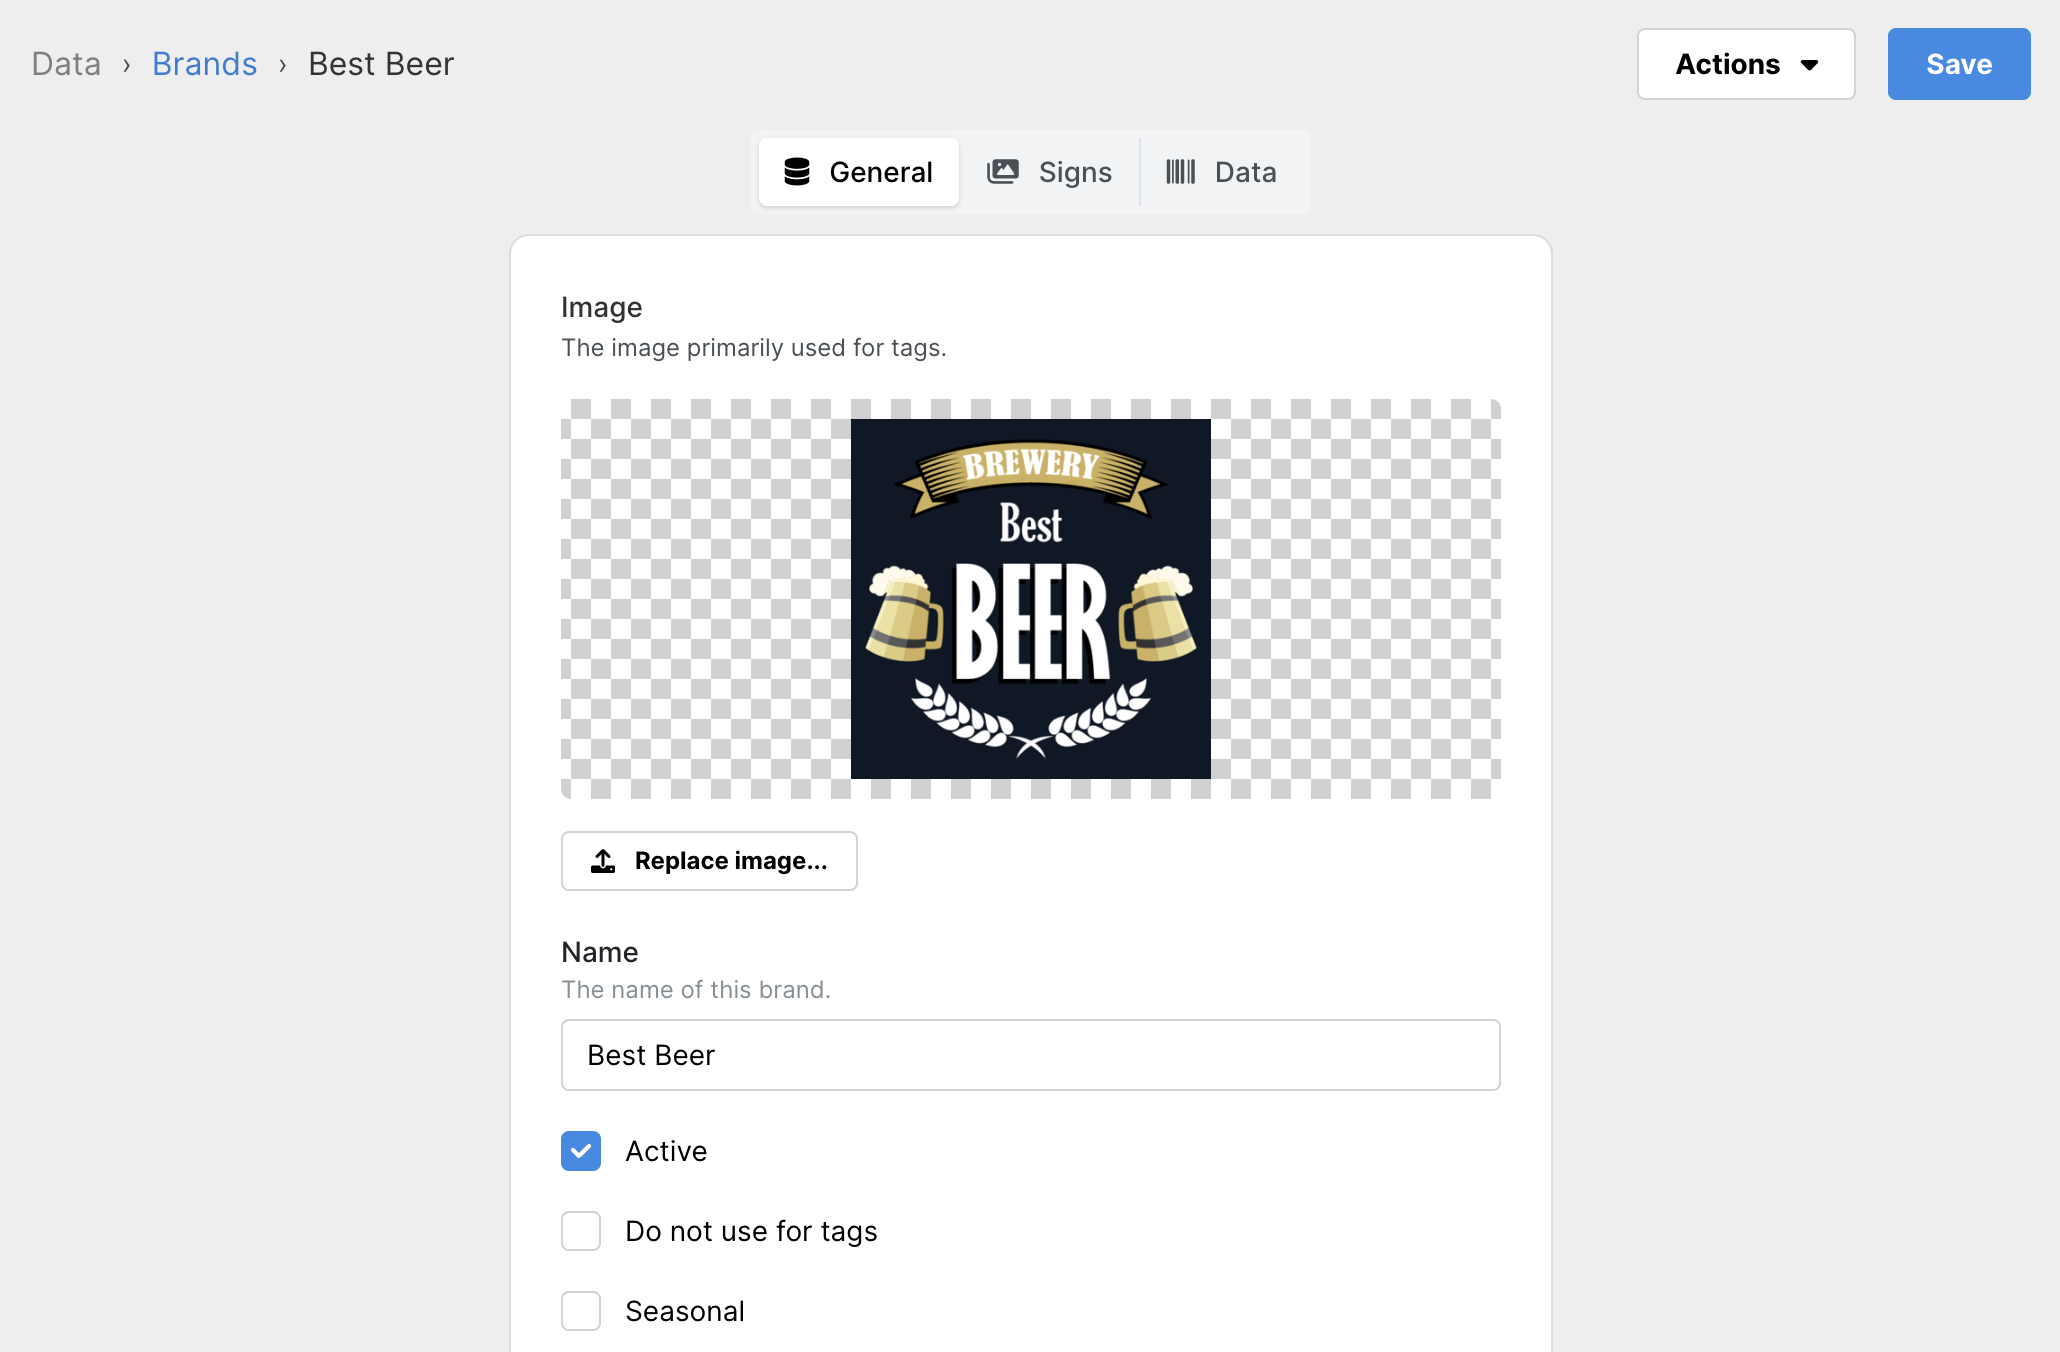
From here, you can update the logo, change the name, etc.
UPC's
UPC's allow users of the iOS/Android app to add tags just by scanning them in. They are attached to a brand either manually (through the web while editing a brand) or scanned in with the iOS/Android app.
For the web:
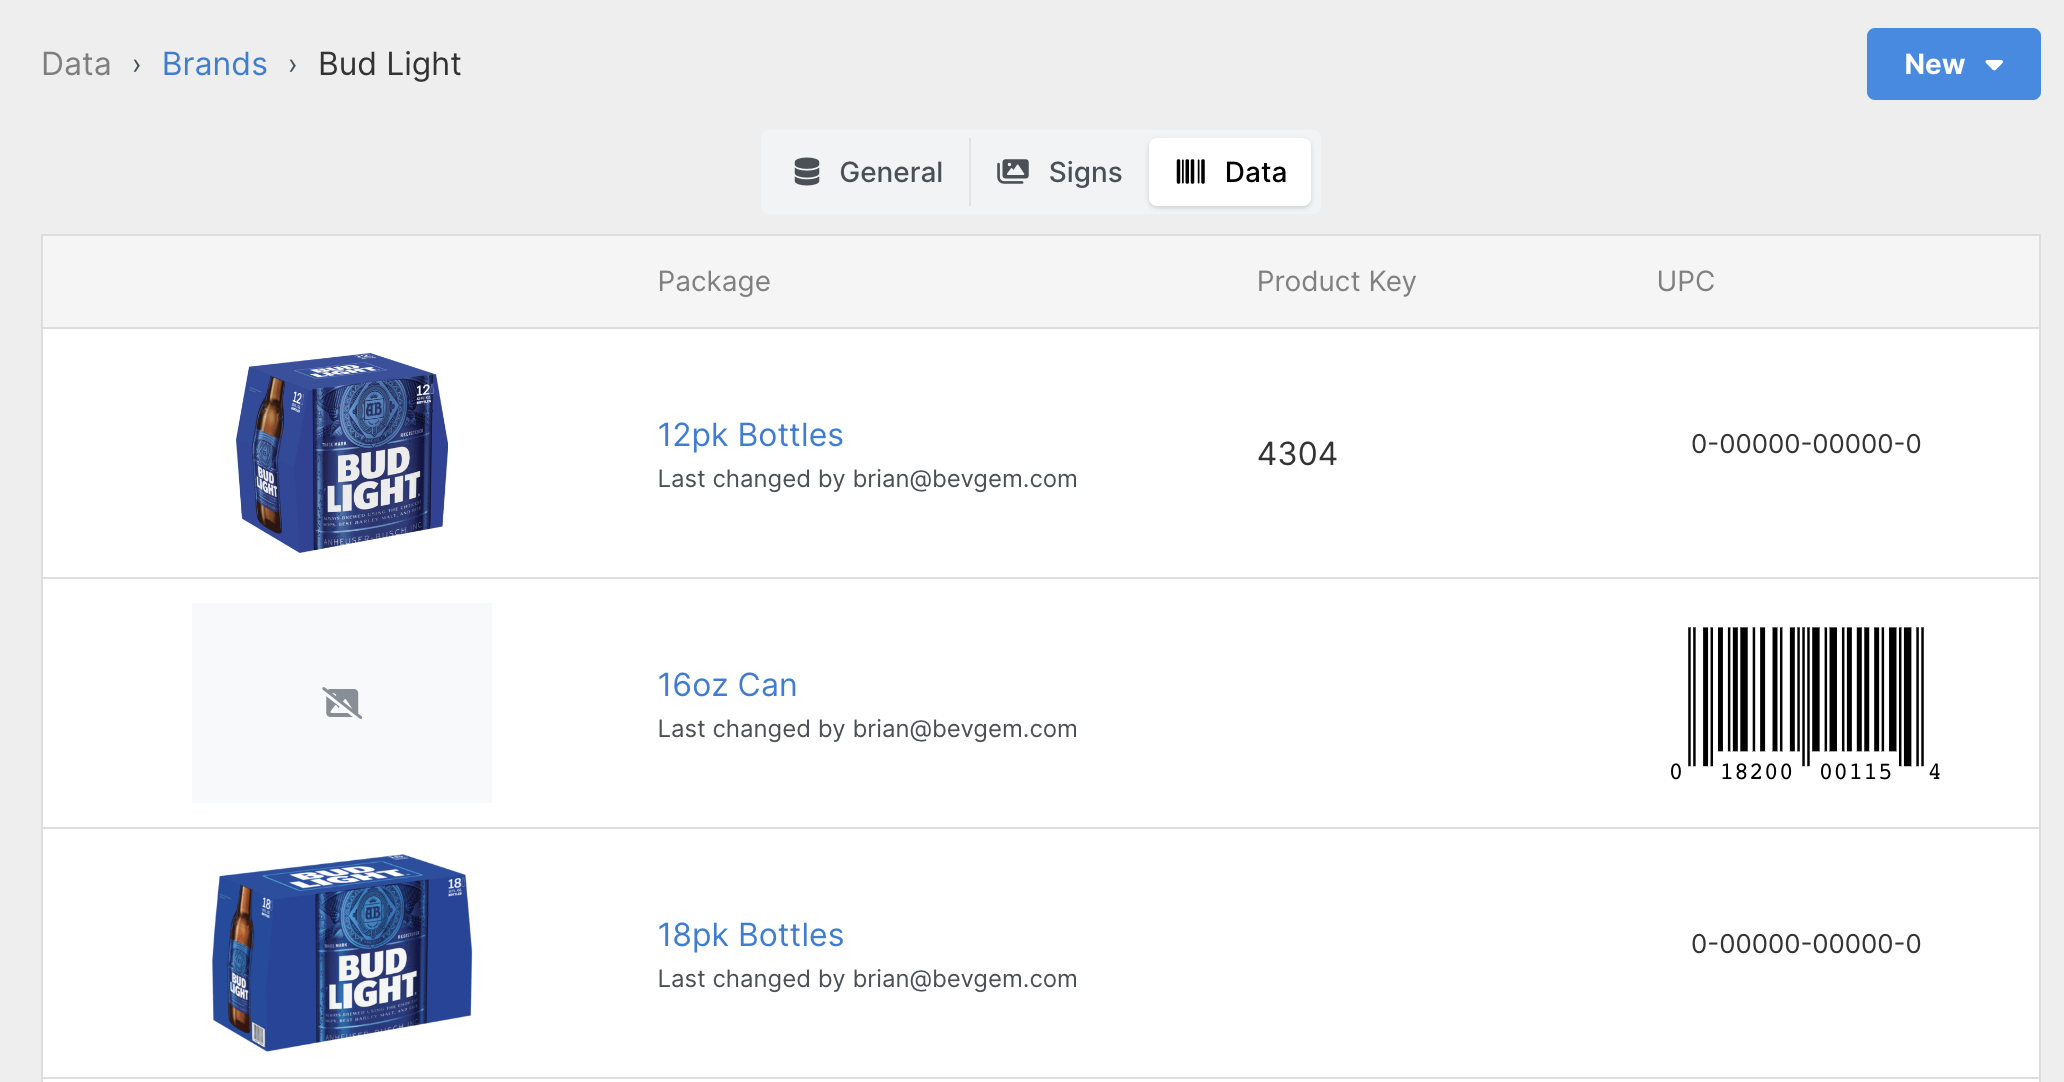
Editing and adding UPC's from the web.
Go to your Brands and click the brand you'd like to add UPC's for. Hit the UPC tab to view the current list of attached UPC's. From here, you can add or remove UPC's as you see fit.
For iOS:
Tap into a project and hit the camera icon on the bottom. With the camera screen up, scan a barcode of the product you'd like to add. If a UPC is already submitted, you'll be prompted to add a price. If it's a new UPC, you can teach it Tagify by selecting the brand and package associated with that particular UPC.
Importing / Exporting
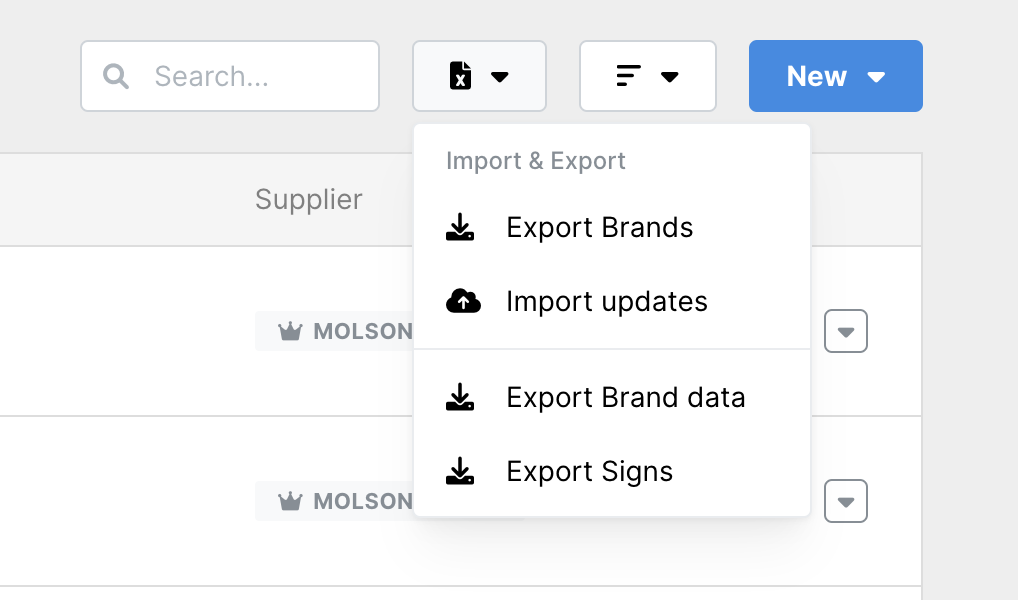
While looking at your brand list, click the Excel button at the top left.
Exporting
After clicking Export to Excel, Tagify will send you an Excel sheet of all your brands. This includes:
- Tagify ID
- Created
- Name
- Labels
- Supplier
- Plus Deposit
Importing
Using the sheet you received after exporting your brands, you can make changes and re-import them right back into Tagify. Much like importing a project, there's a few rules to follow regarding the data coming back in. Here's a breakdown of some columns:
- Tagify ID: This is the only required column and how Tagify knows which brand you're trying to edit. If the ID here is blank or invalid, the row will be skipped.
- Created: The date the brand was first created. Ignored on import.
- Name: The current name of the brand. Changes here will update on import.
- Labels: Your brands labels separated by commas. Changes here will update on import.
- Supplier: Which supplier the brand belongs to. Changes here will update on import.
Brand Groups
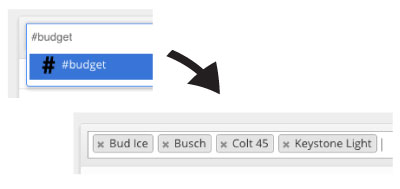
By labeling your brands, you'll be able to add them in bulk when making tags on the web.
First add a label to a couple of your brands. For example, "craft", "light-family", "value", etc. Then hop over to one of your projects and start making tags. When typing in your brands, throw a hashtag in front of any of your labels you've created and hit enter. Tagify will add all of the brands in that label.
