Importing customers (manually)
While not the most efficient way to get your customer data synced in (see Importing customers (automatically)), you can manually import a spreadsheet into Tagify to create/edit your customer list. This one is a four parter:
- Prep your sheet
- Import your sheet
- Update sales routes
- Update customer settings
Prep your sheet for importing
Head over to your customer company settings and check out the Import column names section:
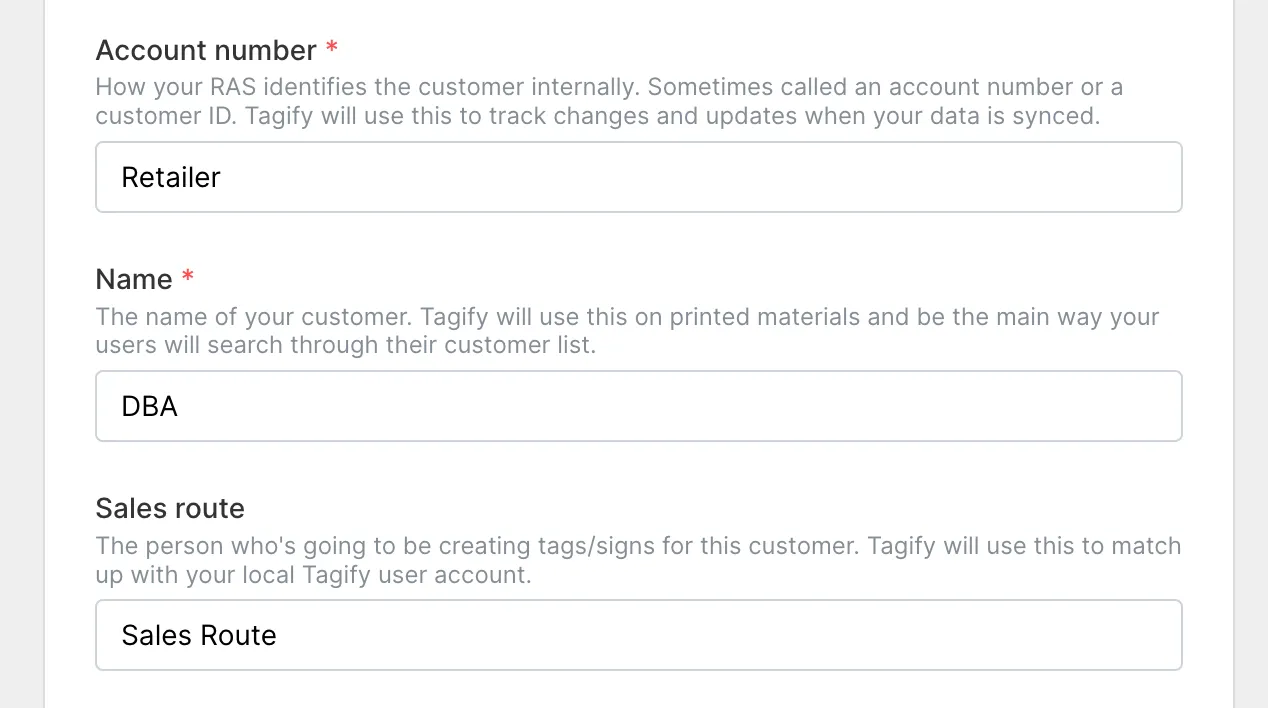
This is where you're telling Tagify about the column names in your sheet and what data they line up with. Let's say your data looks like this:
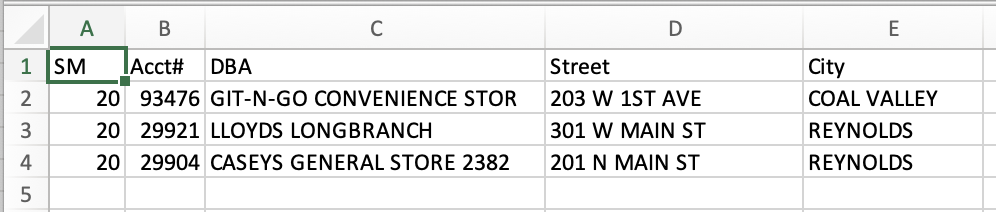
Then we'd update the import column names section to look like this:
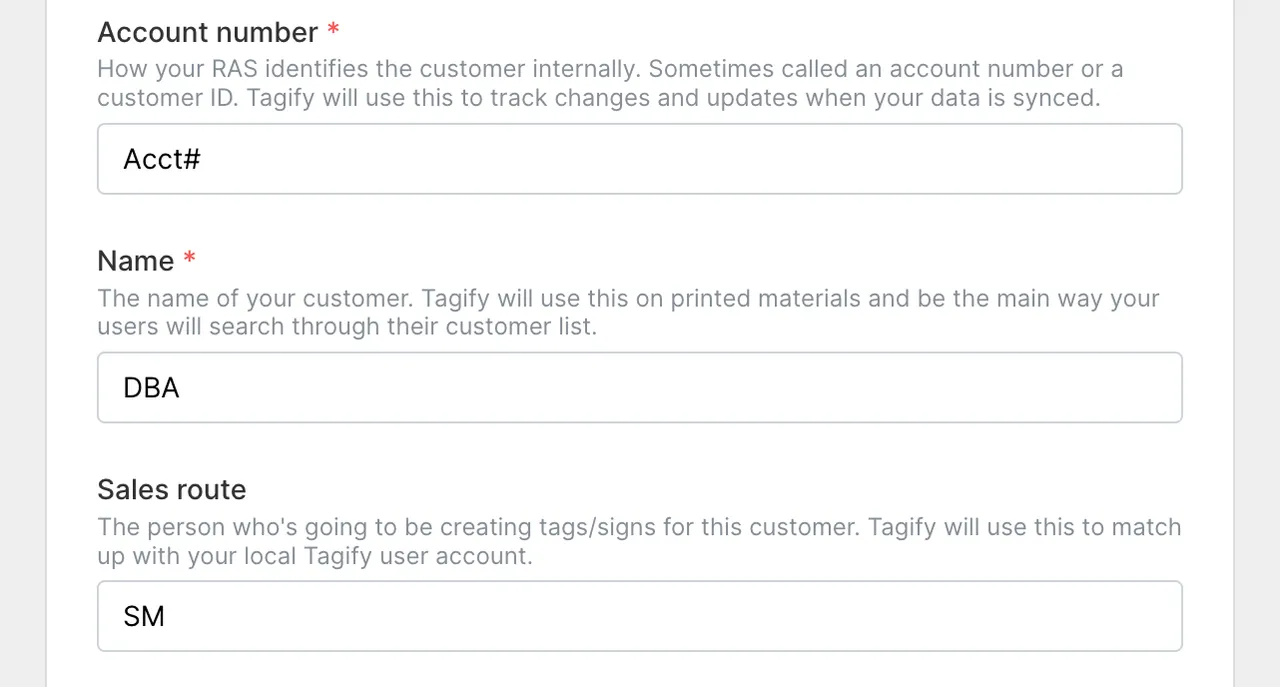
We're just telling Tagify, "Hey, you're looking for Account Number and that's going to be in the Acct# column." And so on.
Import your sheet
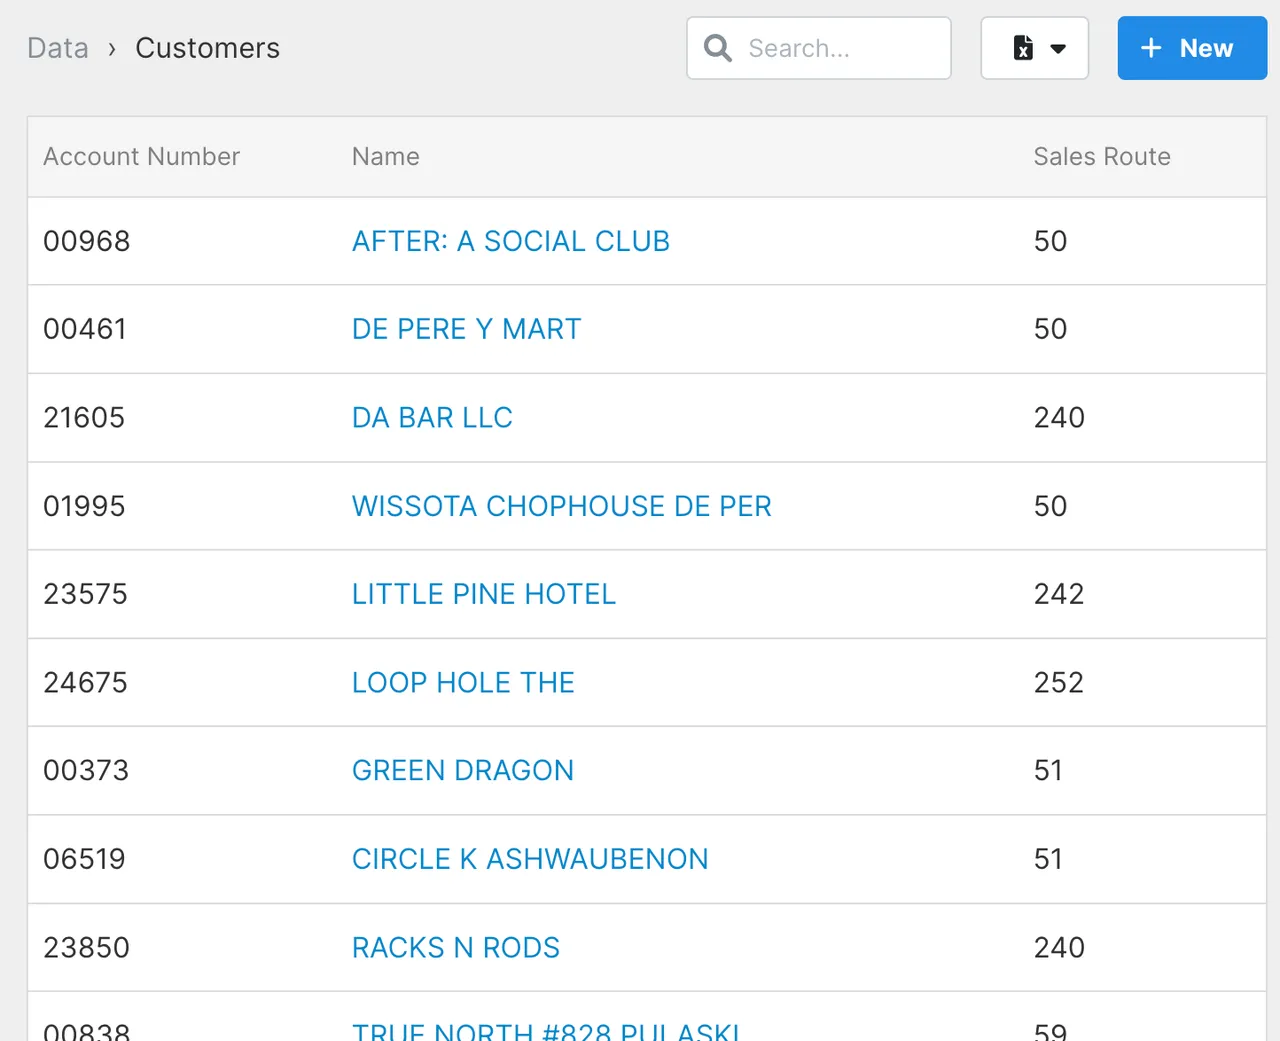
If that's all looking good, let's head over to your Customers list and import that sheet:
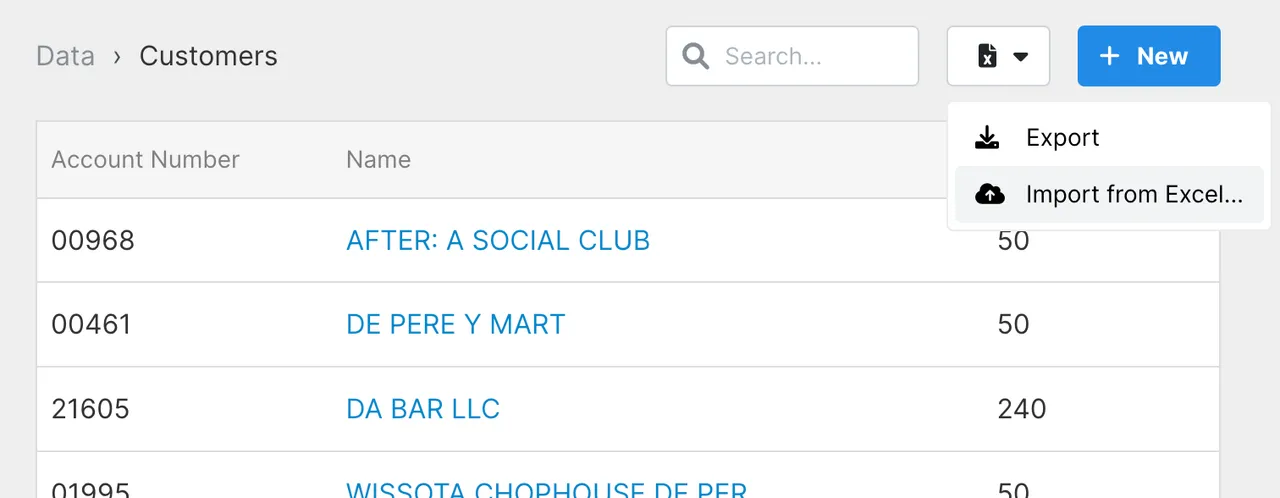
Depending on the size of your data it might take a bit, but once it's done you'll see some of your customers:
Give your users a sales route
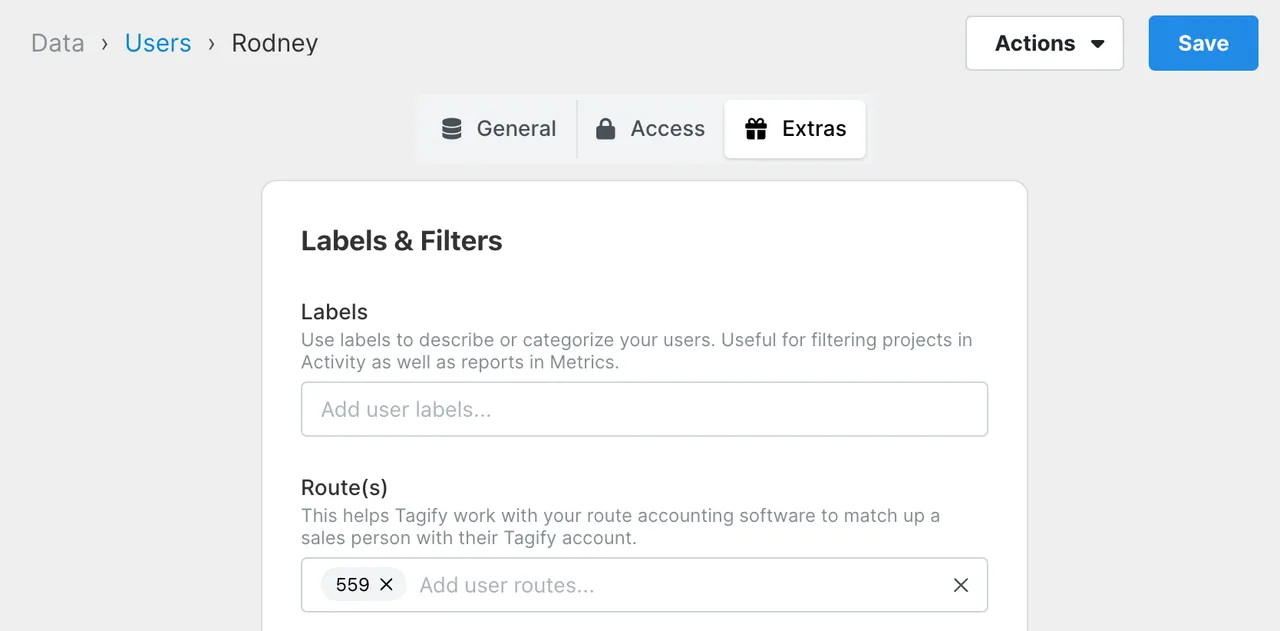
Now that we've got our customers imported, we need to tell Tagify which users are on what sales routes so it knows the customers to show to each user.
While editing a user, check out the Extras tab and add a sales route:
You can do mass changes to your users by exporting them out to spreadsheet, editing the sheet and then importing that sheet right back in. Check out Mass changes to users.
Using customers
You're almost done! Let's head back over to your customer company settings:

Use customers with projects
Turn this on and when your users create a new project, they'll have the option of giving it a customer.
Require customer for every project
With this on, your users will not be able to create a project without adding a customer.