Quick Start (tags)
Sign in
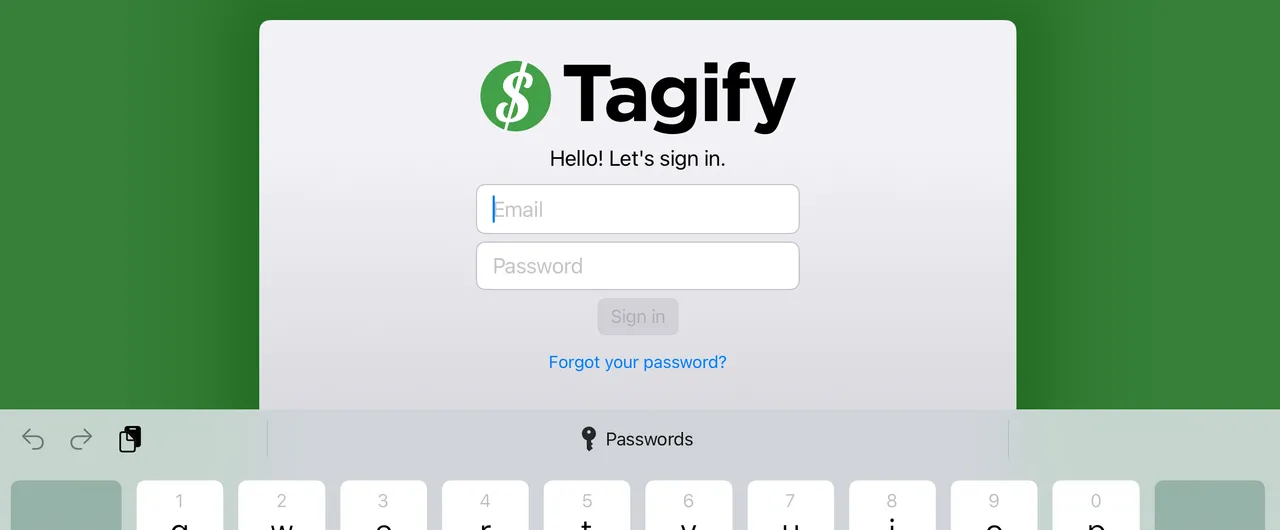
When launching the app for the first time, you're asked to sign in. Punch in your email and password you used to sign up, hit Sign In and you're off.
Don't have a password yet? Get in touch with your local Tagify admins and they'll be able to send you an invite to get started.
Create a tag project
Let's create out first tag project. Hit the plus (down bottom on iPhone, up top on iPad) and select Tag Project...
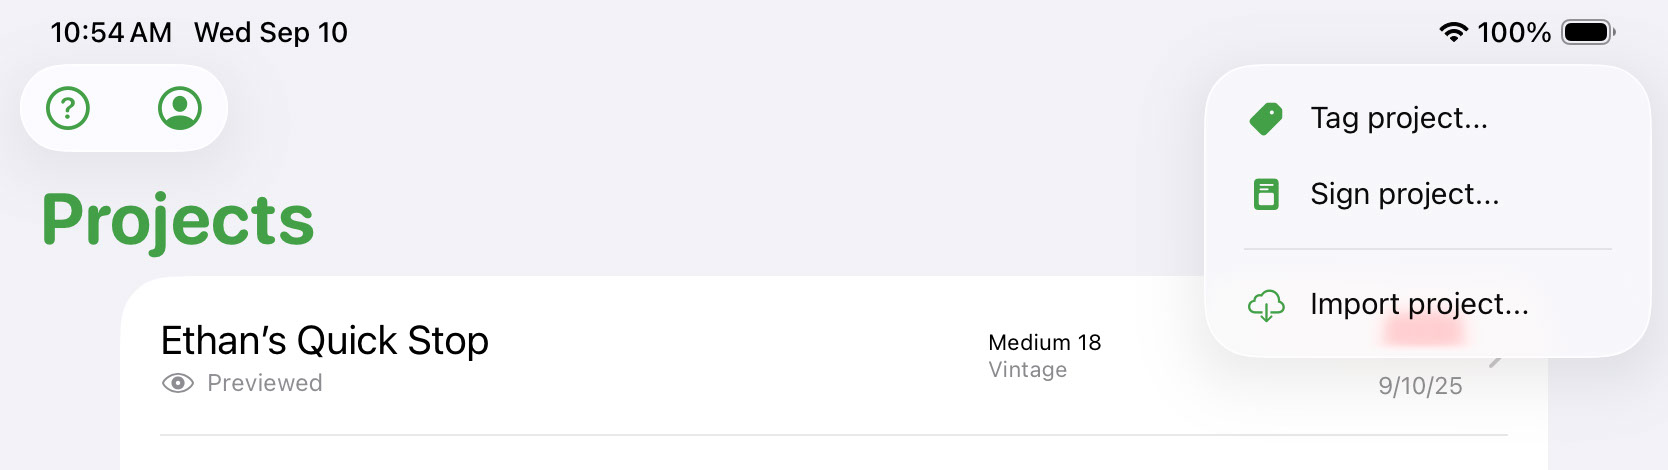
Give your project and name (or not!) and hit Save. Now you're editing your new project.
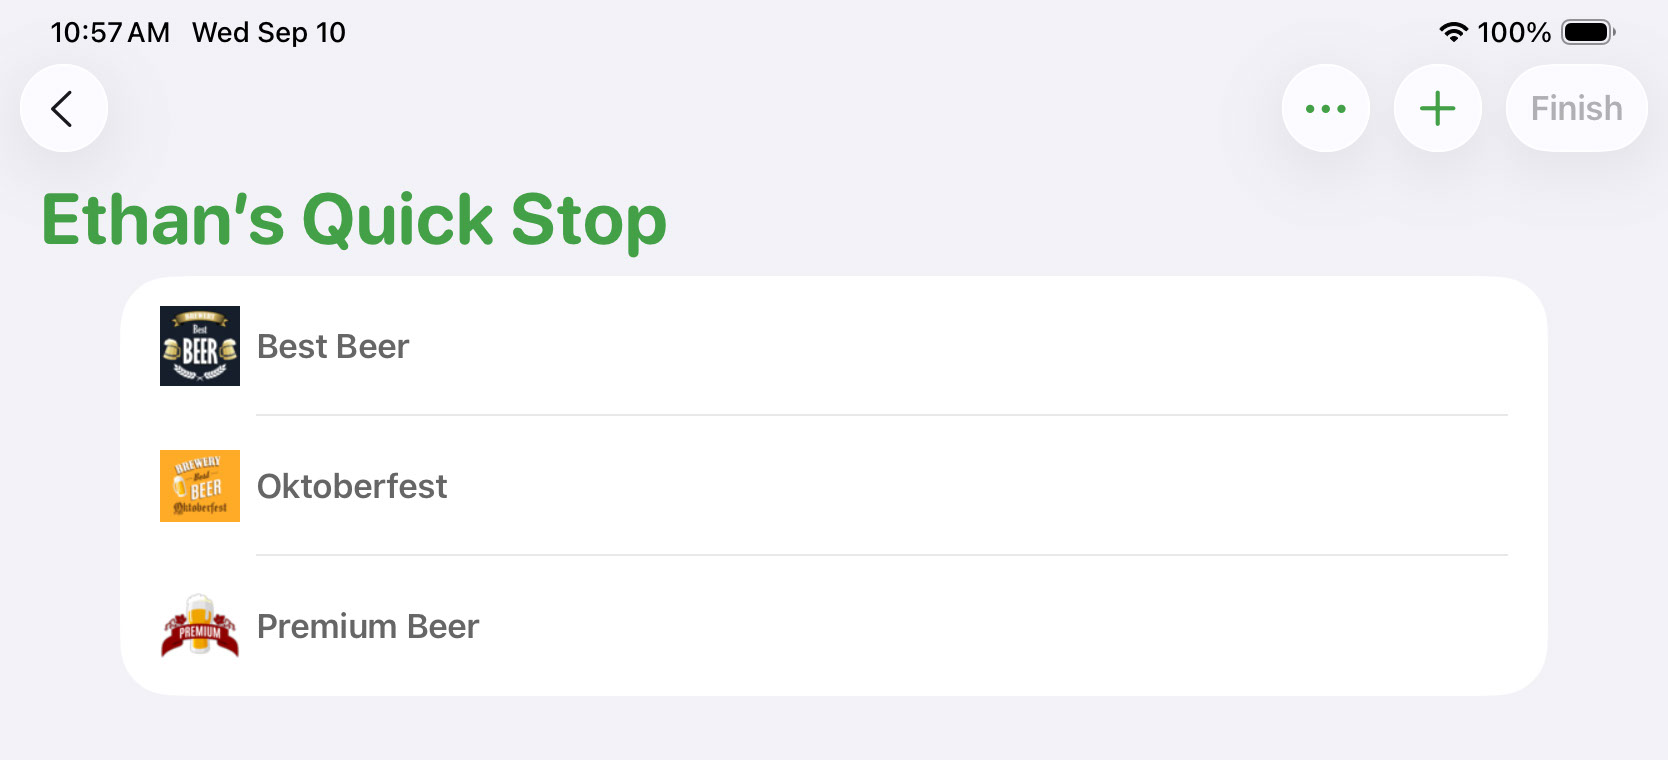
Add your brands
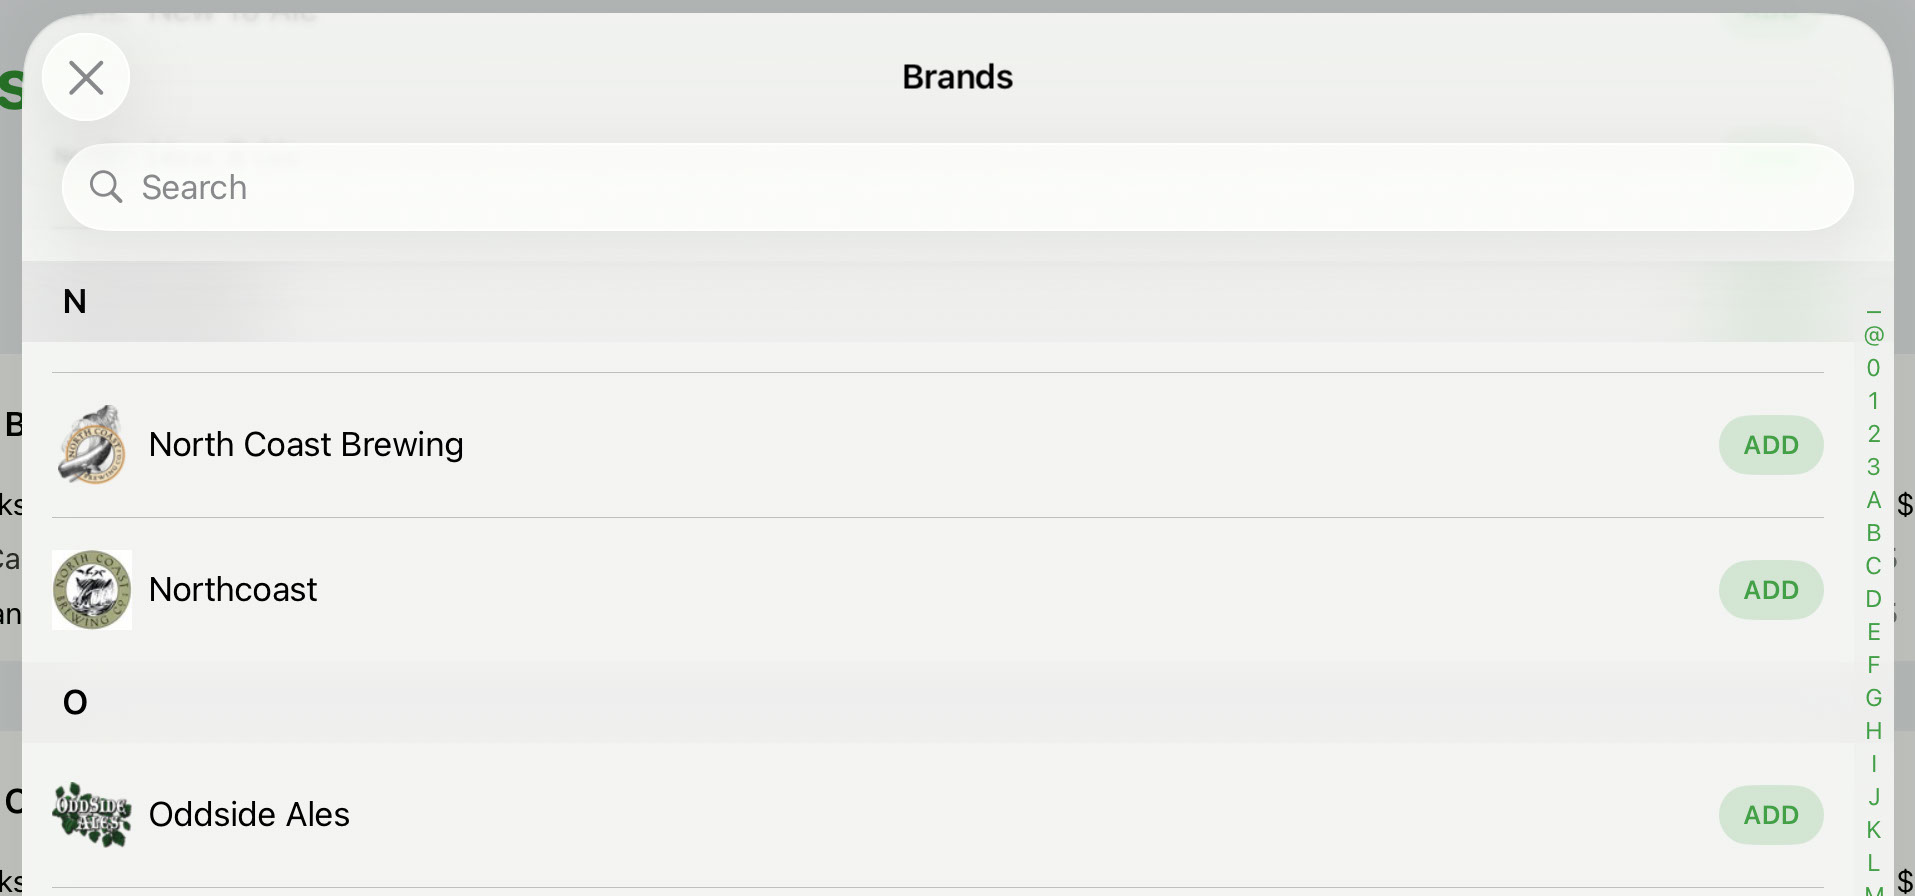
Tap the Plus button to bring up your Brands list.
- Tap the Add button next to each brand to quickly add it to your project.
You can also tap on a brand directly to add pricing right from your brands list.
Let's exit out of this list to go back to your project. You can tap the X in the top left or just swipe down.
Add your pricing
Back in your project, you'll see the brands you've added. Tap on one to bring up that brands package list.
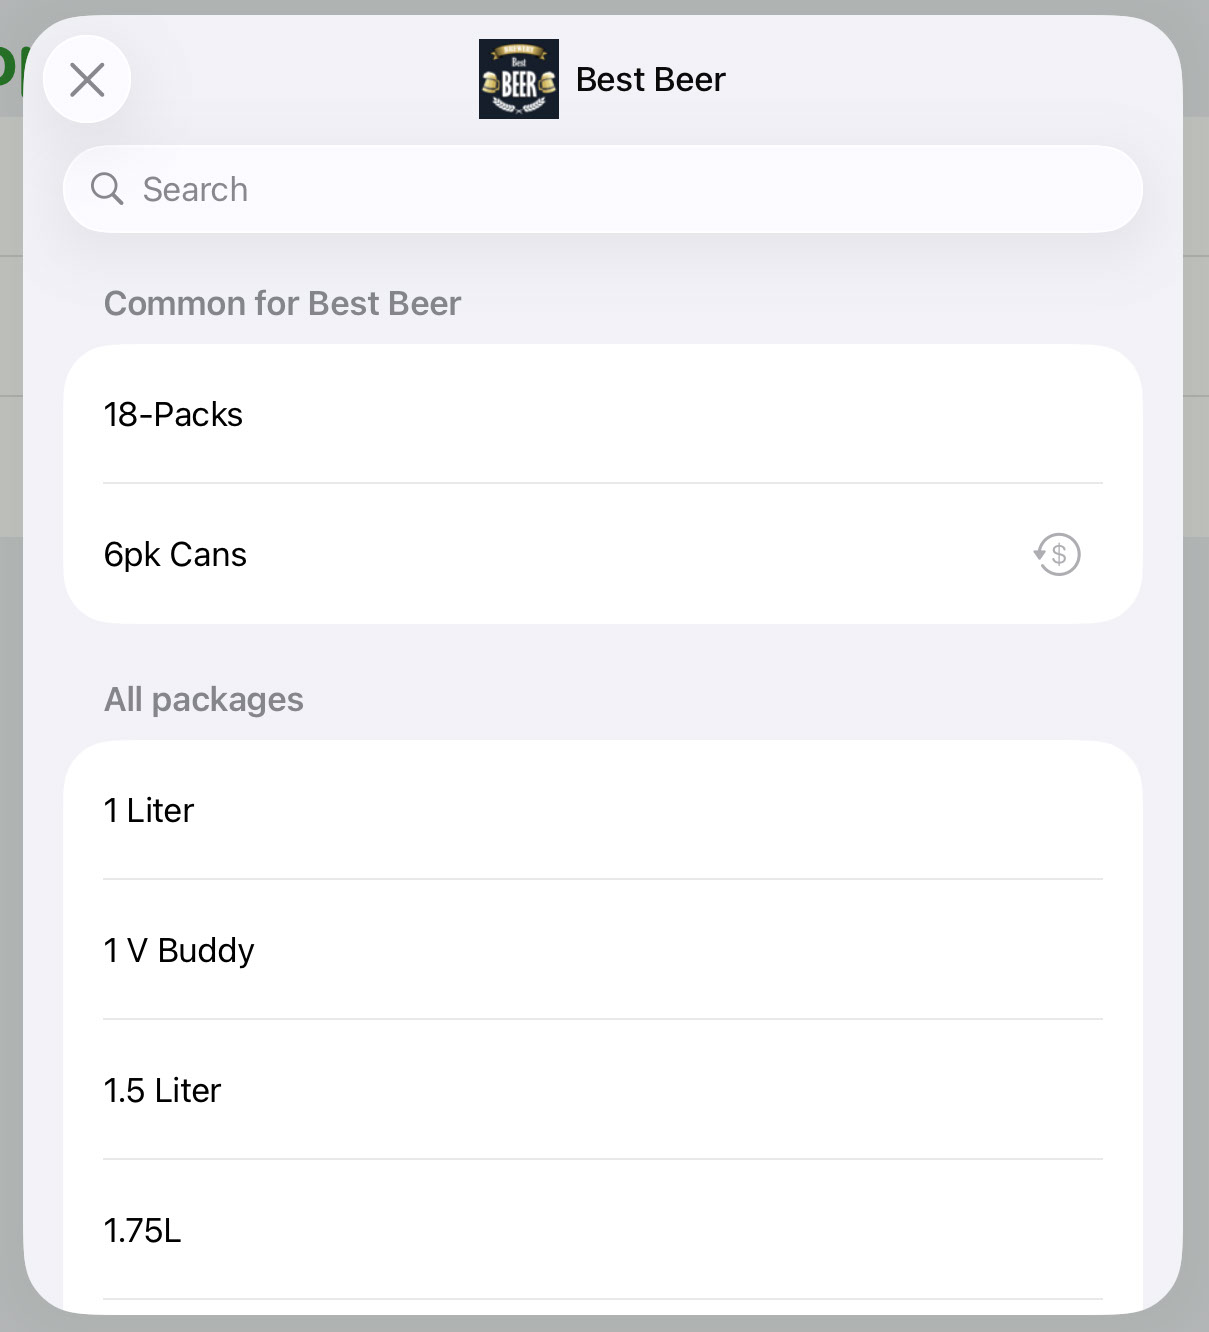
Tap a package to add a price:
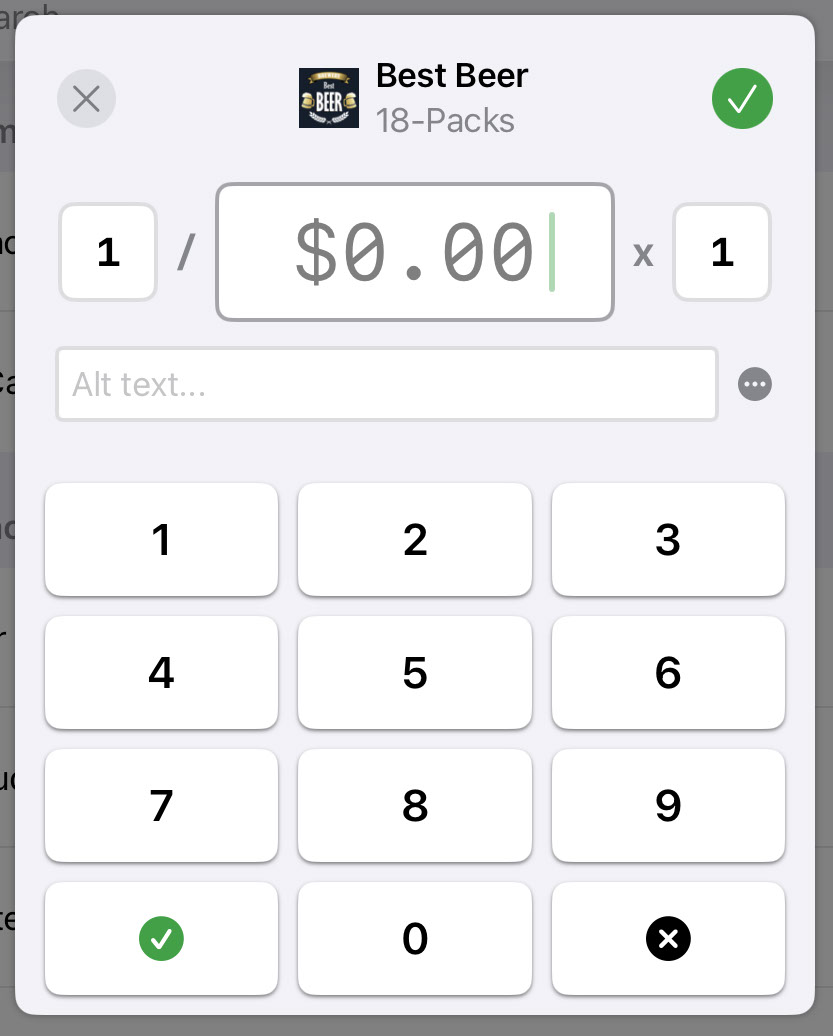
Punch in your price and tap the green button to save it. Keep adding brands, packages and prices until you've got what you need.
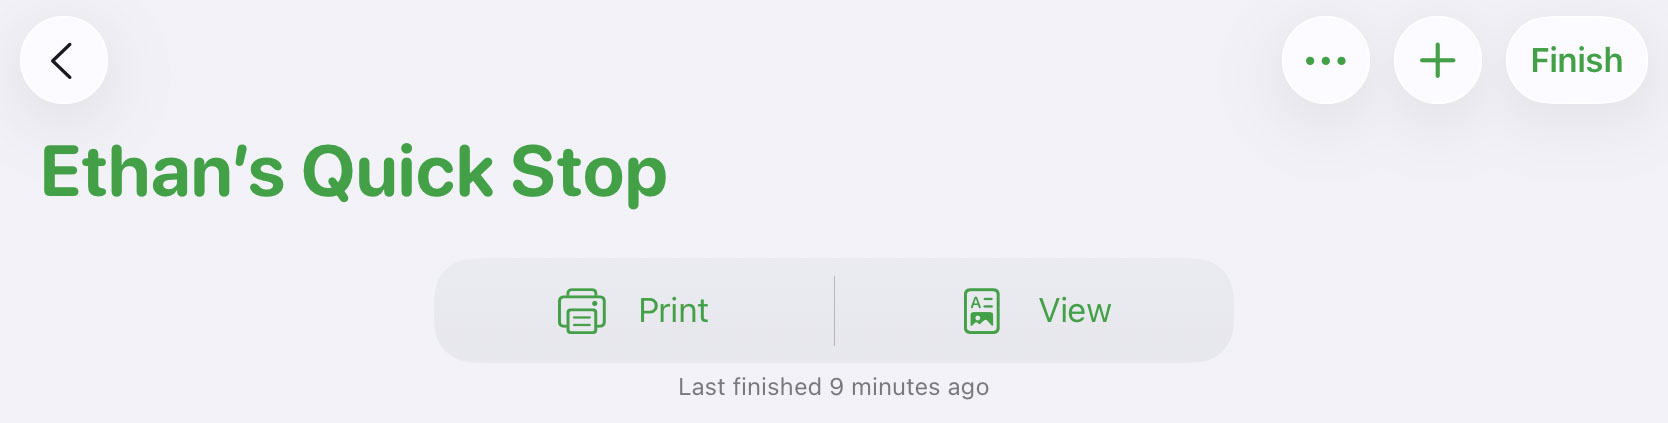
Finish up & make your project
Tap Finish in the top right to choose whether you want to Preview or Make your project.
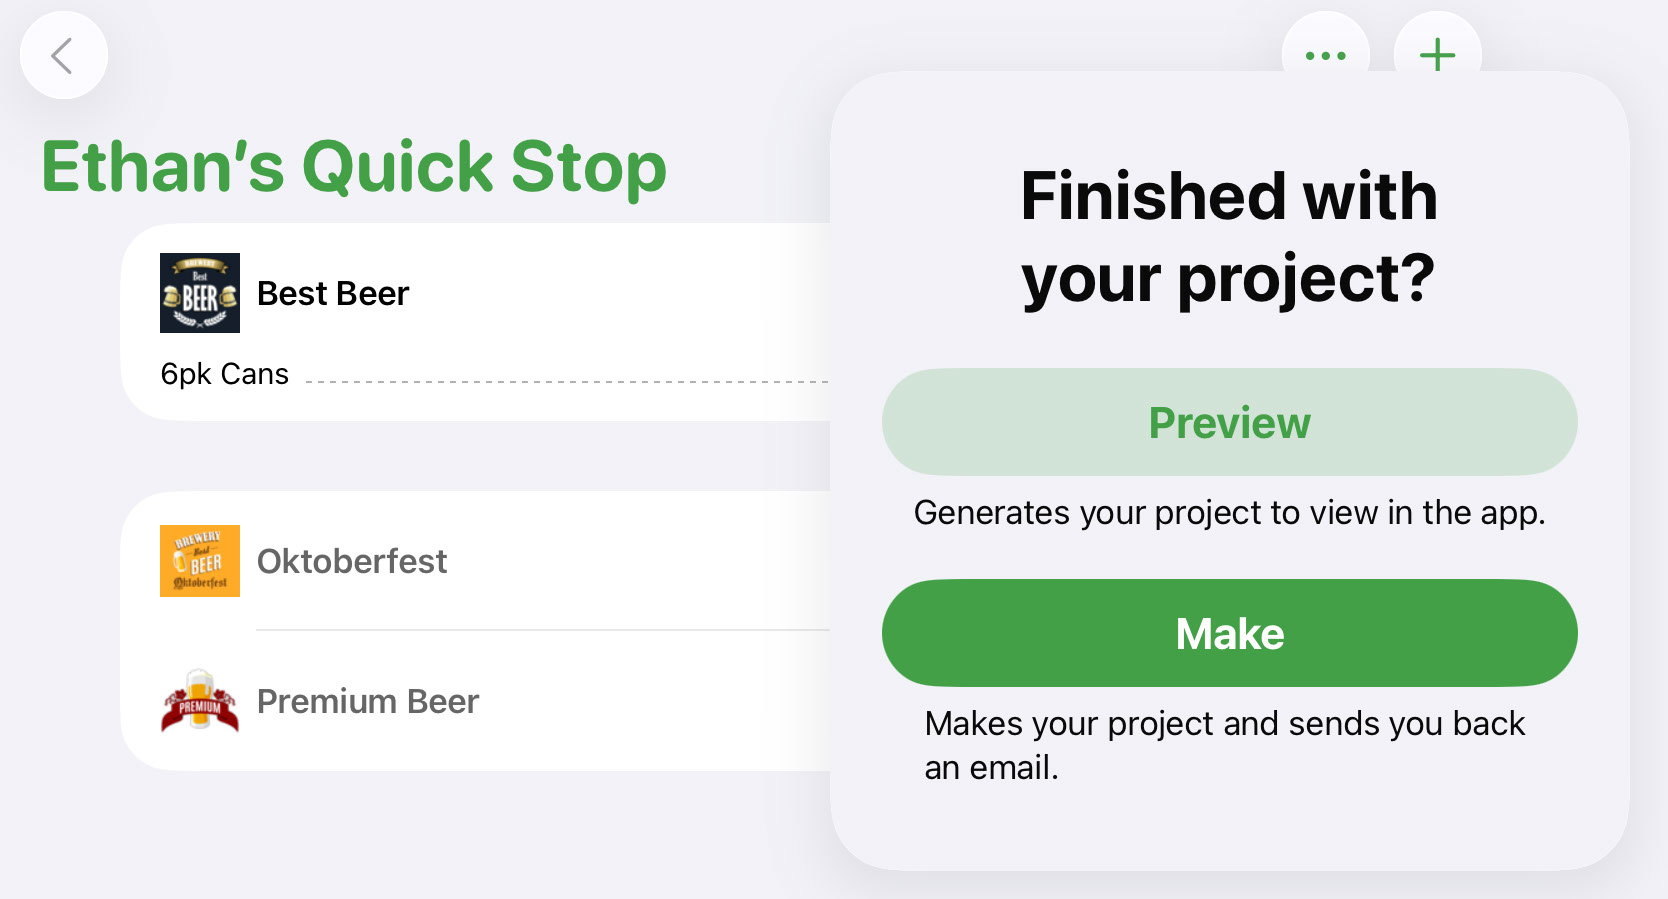
Choosing Make will tell Tagify to create your project and you'll get an email back when it's done. Choose Preview will tell Tagify to create your project but no email will be sent. This is useful if you just want to check out your work before it gets printed.
Both options allow you to view your tags right on your device by either viewing them or printing them: